
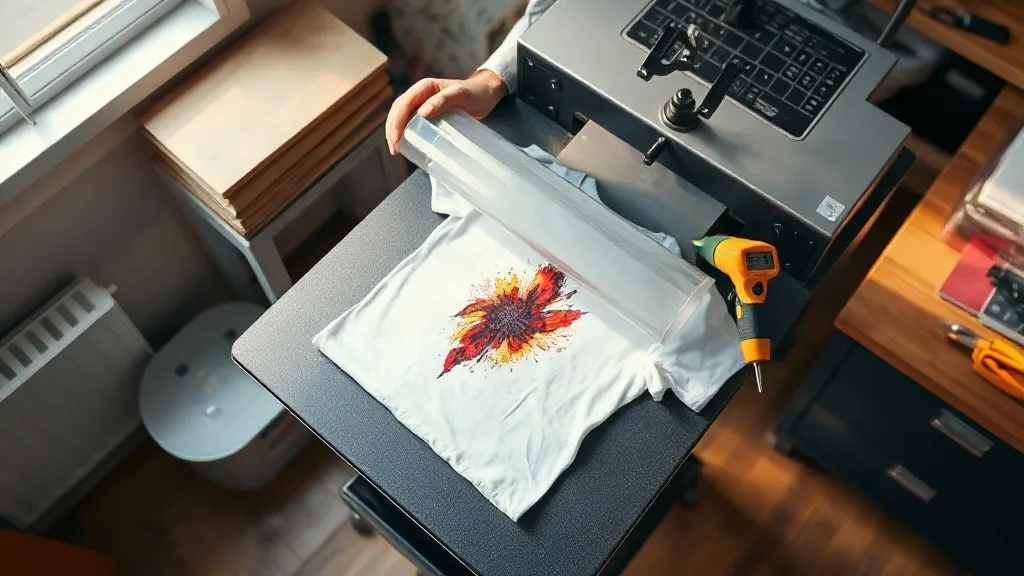
Most people who try dtf transfers for the first time come to them for the same reason: they want a photographic, full-color design on a shirt, and they do not want to order screens, pay per-color fees, or commit to a minimum of fifty pieces. That is a fair motivation, and it is the reason the format spread from small print shops into garages, craft rooms, and side businesses over the past few years. But the gap between a transfer that looks great in a photo and one that survives twenty washes is usually not the design. It is the film, the powder, the press settings, and a handful of habits that nobody explains at the point of sale.
This guide is written for the person who has either just bought a heat press or is about to, and wants to understand what they are actually working with before they ruin a stack of blanks.
What a DTF transfer actually is
Direct-to-film printing works in a different order than most people assume. Instead of printing onto the garment, a printer lays down a mirror-image design in water-based pigment inks onto a coated PET film. While the ink is still wet, a fine thermoplastic adhesive powder is scattered across the printed area. The sheet then goes through a curing step, usually a tunnel oven or a powder shaker unit, where the powder melts and bonds with the ink. What you are left with is a thin, flexible layer of pigment and adhesive sitting on a carrier film.
When you press it, the adhesive softens and grabs the fibers of the fabric. Peel the film away once it cools, and the design stays behind. There is no screen, no liquid emulsion, and no washing step. That is the whole trick.
The practical consequence is that dtf does not care much about fiber content. Cotton, polyester, blends, canvas, nylon, even some leathers and treated synthetics will accept a transfer, which is where the format leaves older methods behind. Plastisol transfers generally want cotton. Sublimation needs a high polyester content and a light-colored surface. DTF sidesteps both limitations, which is why it became the default answer for small runs on mixed inventories.
The parts of a transfer that determine quality
Two transfers printed with the same artwork can behave completely differently, and the difference almost always comes down to three things.
Film and coating
Cheap film has uneven coating, and uneven coating produces inconsistent powder pickup. You will notice it as patchy areas where the powder looks thin, or edges that curl before you even press. Cold-peel and hot-peel films are not interchangeable either. Cold peel is more forgiving on fine detail and small text; hot peel speeds up production but punishes you if your pressure is off.
Powder grade and coverage
The adhesive powder needs to be fine, evenly applied, and fully melted. Under-cured powder feels gritty and will crack along the ink edges after a few washes. Over-cured powder turns glossy and stiff, and it can yellow on light garments. A properly cured sheet feels smooth and slightly matte, with no visible grains.
Ink laydown
White ink is the backbone of any DTF print on a dark shirt, because every color sits on top of it. A thin white base gives a soft hand but lets the garment color bleed through. A thick white base gives opacity but feels like a plastic patch. Good printers balance this, and good suppliers will tell you which white setting they used.
How to press a transfer without guessing
The most common failure I see is not a bad transfer. It is a press that was never actually measured. Temperature readouts on budget presses drift, and a display that says 160°C may be running ten degrees cooler at the platen. An infrared thermometer costs very little and removes most of the guesswork.
A reliable starting point for most cold-peel films looks like this:
- Temperature: 150 to 160°C (300 to 320°F) at the platen, verified with a thermometer
- Pressure: firm and even, roughly medium to high depending on the press
- Pre-press: 3 to 5 seconds on the garment to remove moisture and wrinkles
- Press time: 10 to 15 seconds for the transfer itself
- Peel: fully cool for cold peel, immediately for hot peel
- Post-press: a second 5 to 10 second press under a cover sheet to lock the edges
Those numbers are a starting point, not a law. Thick hoodies need more dwell time than a thin tri-blend tee because heat has to travel through the fabric. Nylon and coated synthetics often need a lower temperature and a longer press to avoid scorching. Waterproof or heavily treated fabrics may need a light pre-press to drive off surface finishes that block adhesion.
The cover sheet matters more than people think
Pressing directly onto the carrier film is fine for the transfer step, but the post-press should always happen with a Teflon sheet or parchment between the platen and the design. This protects the print from direct contact, redistributes pressure across the edges, and prevents the glossy sheen that appears when the adhesive is over-heated. It is a small step that noticeably improves how a print feels and how long it lasts.
Sourcing transfers, and why location still matters
There are two ways to buy: print your own, or order sheets from a supplier. Printing in-house gives you control and speed, but a decent printer, shaker, and oven setup runs into real money, and the maintenance curve is steep. For anyone doing fewer than a few hundred prints a month, ordering from a supplier is usually the smarter economics.
When you order, the question of turnaround becomes the deciding factor. A design that arrives in four days does not help a market stall on Saturday. This is where searching for dtf transfers near me is a practical move rather than a lazy one: a supplier within reasonable shipping distance shortens the gap between order and press, reduces the chance of a shipment sitting in a hot delivery van, and makes reprints on short notice realistic.
There is a second reason to care about proximity. Transfers are sensitive to heat and humidity in transit. Film that has been baked in a delivery truck can arrive with partially activated powder or wavy edges, and neither is obvious until you press it. Shorter routes mean fewer chances for that to happen.
Where DTF falls short
No method is universal, and pretending otherwise does not help anyone. DTF has real limitations worth knowing before you promise a customer a result.
- Hand feel: even a well-made transfer has some texture. On very lightweight, drapey fabrics it will be noticeable.
- Stretch: on high-stretch performance wear, the print can crack if the design crosses areas that flex heavily.
- Wash durability: expect a realistic lifespan rather than a permanent one. Washing inside out in cold water and skipping the dryer extends it considerably.
- Very fine detail: hairline strokes and tiny serif text can lose definition, especially on textured fabrics.
For those cases, screen printing or a different transfer type may serve you better. Knowing which jobs to decline is part of running a print business well.
Practical habits that separate clean work from messy work
After enough presses, the differences between a shop that produces consistent work and one that fights the same problems every week come down to routine rather than equipment.
- Lint-roll every garment before pressing. A single fiber under the transfer becomes a permanent bump.
- Trim the carrier film close to the design. Excess film transfers heat to the surrounding fabric and can leave a faint outline.
- Keep a log of temperature, time, and pressure for each fabric type you work with. Memory is unreliable; a notebook is not.
- Test on a scrap before committing a full order. One ruined blank is cheaper than twenty.
- Store unused transfers flat, away from heat and direct sun, in a sealed bag if your workspace is humid.
None of these are difficult. They are simply the steps that get skipped when a deadline is tight, and they are the reason some prints still look new after a year while others fail in a month.
Frequently asked questions
Can I use DTF transfers on 100% cotton shirts?
Yes, and cotton is one of the easier substrates to work with. The fibrous surface gives the adhesive plenty to grip, and the print tends to hold up well through repeated washing. Pre-pressing to remove moisture is still important, because cotton holds more water than synthetics.
How long should a DTF print last?
With correct pressing and reasonable care, most prints hold up through dozens of wash cycles. The variables that shorten that life are hot water, high dryer heat, and washing the garment inside out versus right side out. Cold wash and air drying make a visible difference.
Do I need a special heat press for DTF?
A standard clamshell or swing-away heat press works, provided it reaches the required temperature and applies even pressure. What matters more than the brand is whether the platen temperature is accurate and whether the pressure is consistent across the whole surface. A press with a warped platen will produce uneven results no matter how good the transfer is.
Why is my transfer peeling at the corners?
Corner peeling almost always traces back to one of three causes: insufficient pressure at the edges, a press time that was too short for the fabric thickness, or peeling the film before it cooled on a cold-peel film. Check the platen for level, extend the dwell time slightly, and let the sheet cool completely before you pull it.
Can I layer DTF transfers on top of each other?
You can, but plan the order carefully. Press the larger, lower layer first, let it cool, then apply the smaller design on top with a cover sheet. Layering too much ink in one spot creates a stiff, raised area that cracks sooner than a single-layer print would.