
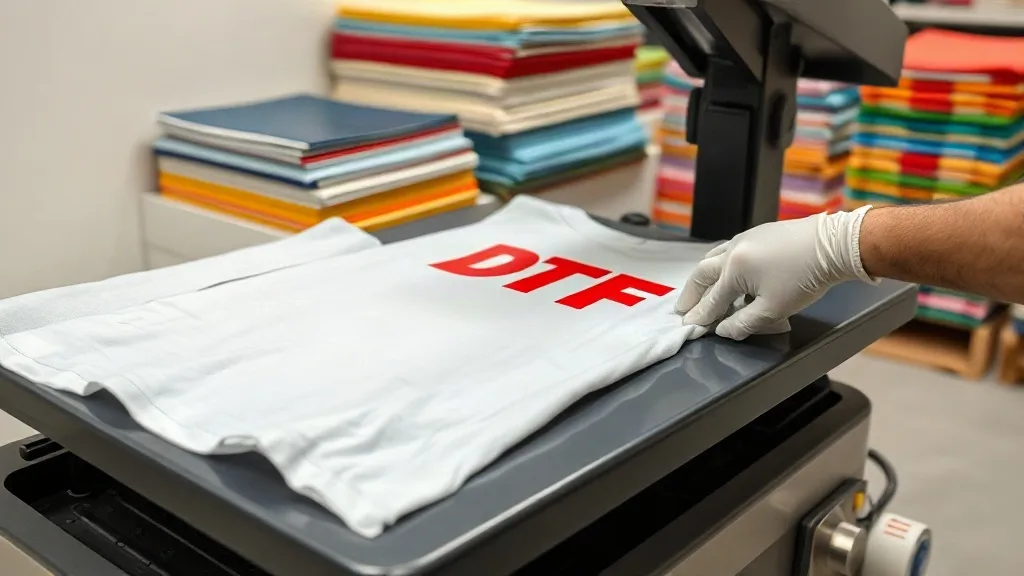
You've invested in a DTF printer, mastered the software, and produced vibrant transfers. But the final step, applying the transfer to the garment, is where many shops stumble. A perfect print can be ruined by incorrect temperature, uneven pressure, or impatience during peeling. This guide is designed to help you avoid those pitfalls. Whether you're new to DTF or looking to refine your process, these practical insights will help you achieve consistent, professional results that keep customers coming back.
Understanding the DTF Transfer Process
DTF (Direct to Film) printing involves printing your design onto a special film, applying a thermoplastic powder while the ink is wet, and then curing the powder to create a flexible, durable transfer. When you receive a DTF Gangsheet, it's a sheet containing multiple transfers, which you cut apart and apply individually. The application itself is a heat press process: the transfer is placed on the garment, pressed at a specific temperature for a set time, and then the film is peeled away, leaving the design bonded to the fabric.
The key to success lies in controlling three variables: temperature, pressure, and time. Each fabric type may require slight adjustments, but mastering the basics will set you up for success across a wide range of materials.
Preparing Your Workspace and Materials
Before you press your first transfer, ensure your workspace is set up for efficiency and safety. A clean, heat-resistant surface is essential. You'll need a heat press (clamshell or swing-away), a lint roller or lint-free cloth, heat-resistant tape (optional), and a protective sheet or parchment paper. Also, have your garment and transfer ready and within reach.
Garment Preparation
Pre-press the garment for 5-10 seconds to remove moisture and wrinkles. This step is crucial because moisture can interfere with adhesion, and wrinkles can cause uneven pressure. Use a lint roller to remove any lint or dust from the print area. If the garment has a zipper, buttons, or seams, place a pressing pillow underneath to create a flat surface.
Transfer Handling
Handle the transfer by the edges to avoid contaminating the adhesive side. If the transfer is on a DTF Gangsheet, cut out the individual design with a small border (about 1/8 inch) to make peeling easier. Remember that the film has a coated side (where the design sits) and a non-coated side. The design should face up when you place it on the garment.
Step-by-Step Application Guide
Follow these steps for a flawless application. Note that exact settings may vary depending on your heat press and transfer supplier, so always test with a scrap garment first.
- Set your heat press: Preheat to 300-325°F (150-160°C). For most fabrics, 315°F is a good starting point. Pressure should be medium to firm (around 40-60 PSI).
- Pre-press the garment: Press for 5-10 seconds to remove moisture and wrinkles.
- Position the transfer: Place the transfer on the garment with the design facing up. Use heat-resistant tape to secure it if needed.
- Press: Cover with a protective sheet or parchment paper. Press for 10-15 seconds using firm pressure. For thicker fabrics or multi-layer transfers, increase time to 15-20 seconds.
- Peel: Remove the garment from the press and peel the film immediately while hot. Peel in a smooth, continuous motion, starting from one corner. For best results, peel at a 180-degree angle (pulling back over itself).
- Post-press (optional): For added durability, cover the design with parchment paper and press for an additional 5 seconds. This helps the adhesive fully bond.
Always allow the garment to cool completely before folding or packaging.
Choosing the Right Settings for Different Fabrics
Not all fabrics are created equal. Cotton, polyester, and blends each have unique characteristics that affect how they accept DTF transfers. Here's a quick reference:
- 100% Cotton: Medium pressure, 315°F, 10-15 seconds. Cotton is forgiving and holds transfers well.
- Polyester: Lower temperature (300°F) to avoid dye migration, medium pressure, 10-12 seconds. Use a lower temperature and watch for scorching.
- Cotton/Poly Blends: 310°F, medium pressure, 12-15 seconds. These are generally easy to work with.
- Nylon and Synthetics: Use low temperature (280-300°F) and light pressure. Test on a scrap first as these fabrics can be sensitive to heat.
Always consult the transfer supplier's recommendations and test on a hidden area or scrap fabric.
Troubleshooting Common DTF Application Issues
Even with careful preparation, problems can arise. Here's how to diagnose and fix common issues:
Transfer Not Adhering
If the transfer peels off or lifts at the edges, it's usually due to insufficient temperature, pressure, or time. Increase one variable at a time and test. Also, ensure the garment is completely dry before pressing.
Design Cracking or Flaking
Cracking after washing often indicates under-curing or too much pressure that squeezes the adhesive out. Check your press settings and ensure even pressure. Post-pressing can also help.
Film Sticking to the Garment
If the film won't peel cleanly, it may be due to overheating or pressing for too long. Lower the temperature or reduce time. Also, make sure you're peeling while hot; cold peeling can cause the film to stick.
Color Fading or Dullness
This can happen if the transfer is overheated, causing the ink to degrade. Use a lower temperature and monitor closely. Also, ensure your transfer is properly cured before application.
Maximizing Efficiency with DTF Gangsheets
For shops producing multiple items, efficiency is key. Using a DTF Gangsheet allows you to print many designs on a single sheet, reducing waste and setup time. When applying, organize your transfers by garment type and size to streamline the process. Keep a log of settings for each fabric to build a reliable reference library.
Consider investing in a heat press with digital controls for precise temperature and time, and a larger platen to accommodate various garment sizes. Proper maintenance, such as cleaning the platen regularly, ensures consistent results.
Frequently Asked Questions
How long should I press a DTF transfer?
Typically 10-15 seconds at 315°F (160°C) with medium-firm pressure. Adjust based on fabric type and transfer thickness.
Can I apply DTF transfers to dark fabrics?
Yes, DTF transfers work well on dark colors because the white ink layer provides a bright base. Ensure proper curing to avoid opacity issues.
What is the best way to store unused DTF transfers?
Store them in a cool, dry place away from direct sunlight. Keep them flat to prevent creasing, and avoid humidity to maintain adhesive quality.
How do I prevent the transfer from shifting during pressing?
Use heat-resistant tape to secure the transfer to the garment, or hold it firmly in place until the press closes.
Can I reuse a DTF transfer?
No, DTF transfers are single-use. Once the film is peeled, the adhesive is spent.
Final Thoughts
Mastering DTF transfer application is a blend of science and craftsmanship. By understanding your equipment, testing settings, and learning from each press, you'll develop a rhythm that yields consistent, high-quality results. Remember that DTF Gangsheet efficiency starts with proper planning and extends through every step of the process. With practice, you'll turn flawless application into a routine, boosting your shop's reputation and profitability.